
The Making of a Shawl
It starts with yarn and a pattern (in either order). In this case, the pattern, Teroldego, came first and I developed three new yarn colors to knit it. The colors needed to be harmonious yet of big enough contrast to show off the different knitting elements. Also, the colorways’ gradations needed to be subtle as not to distract yet noticeable and interesting. The solution was a collection of Cotton/Bamboo yarns named for singers: Tina (red), Luciano (green), and Stevie (gold).
The shawl pattern is called TEROLDEGO, written by Caitlin Hunter (available on Raverly.)
With yarn and pattern sorted, I grab my trusted Addi needles and let the knitting begin. (Make sure the needles are long enough since there will ultimately be 200 stitches on them; my circular needle is 47 inches/120 cm long, the second longest Addi offers.)

Cotton/Bamboo yarn in colors Tina (red), Luciano (green), and Stevie (gold)
Let’s start knitting
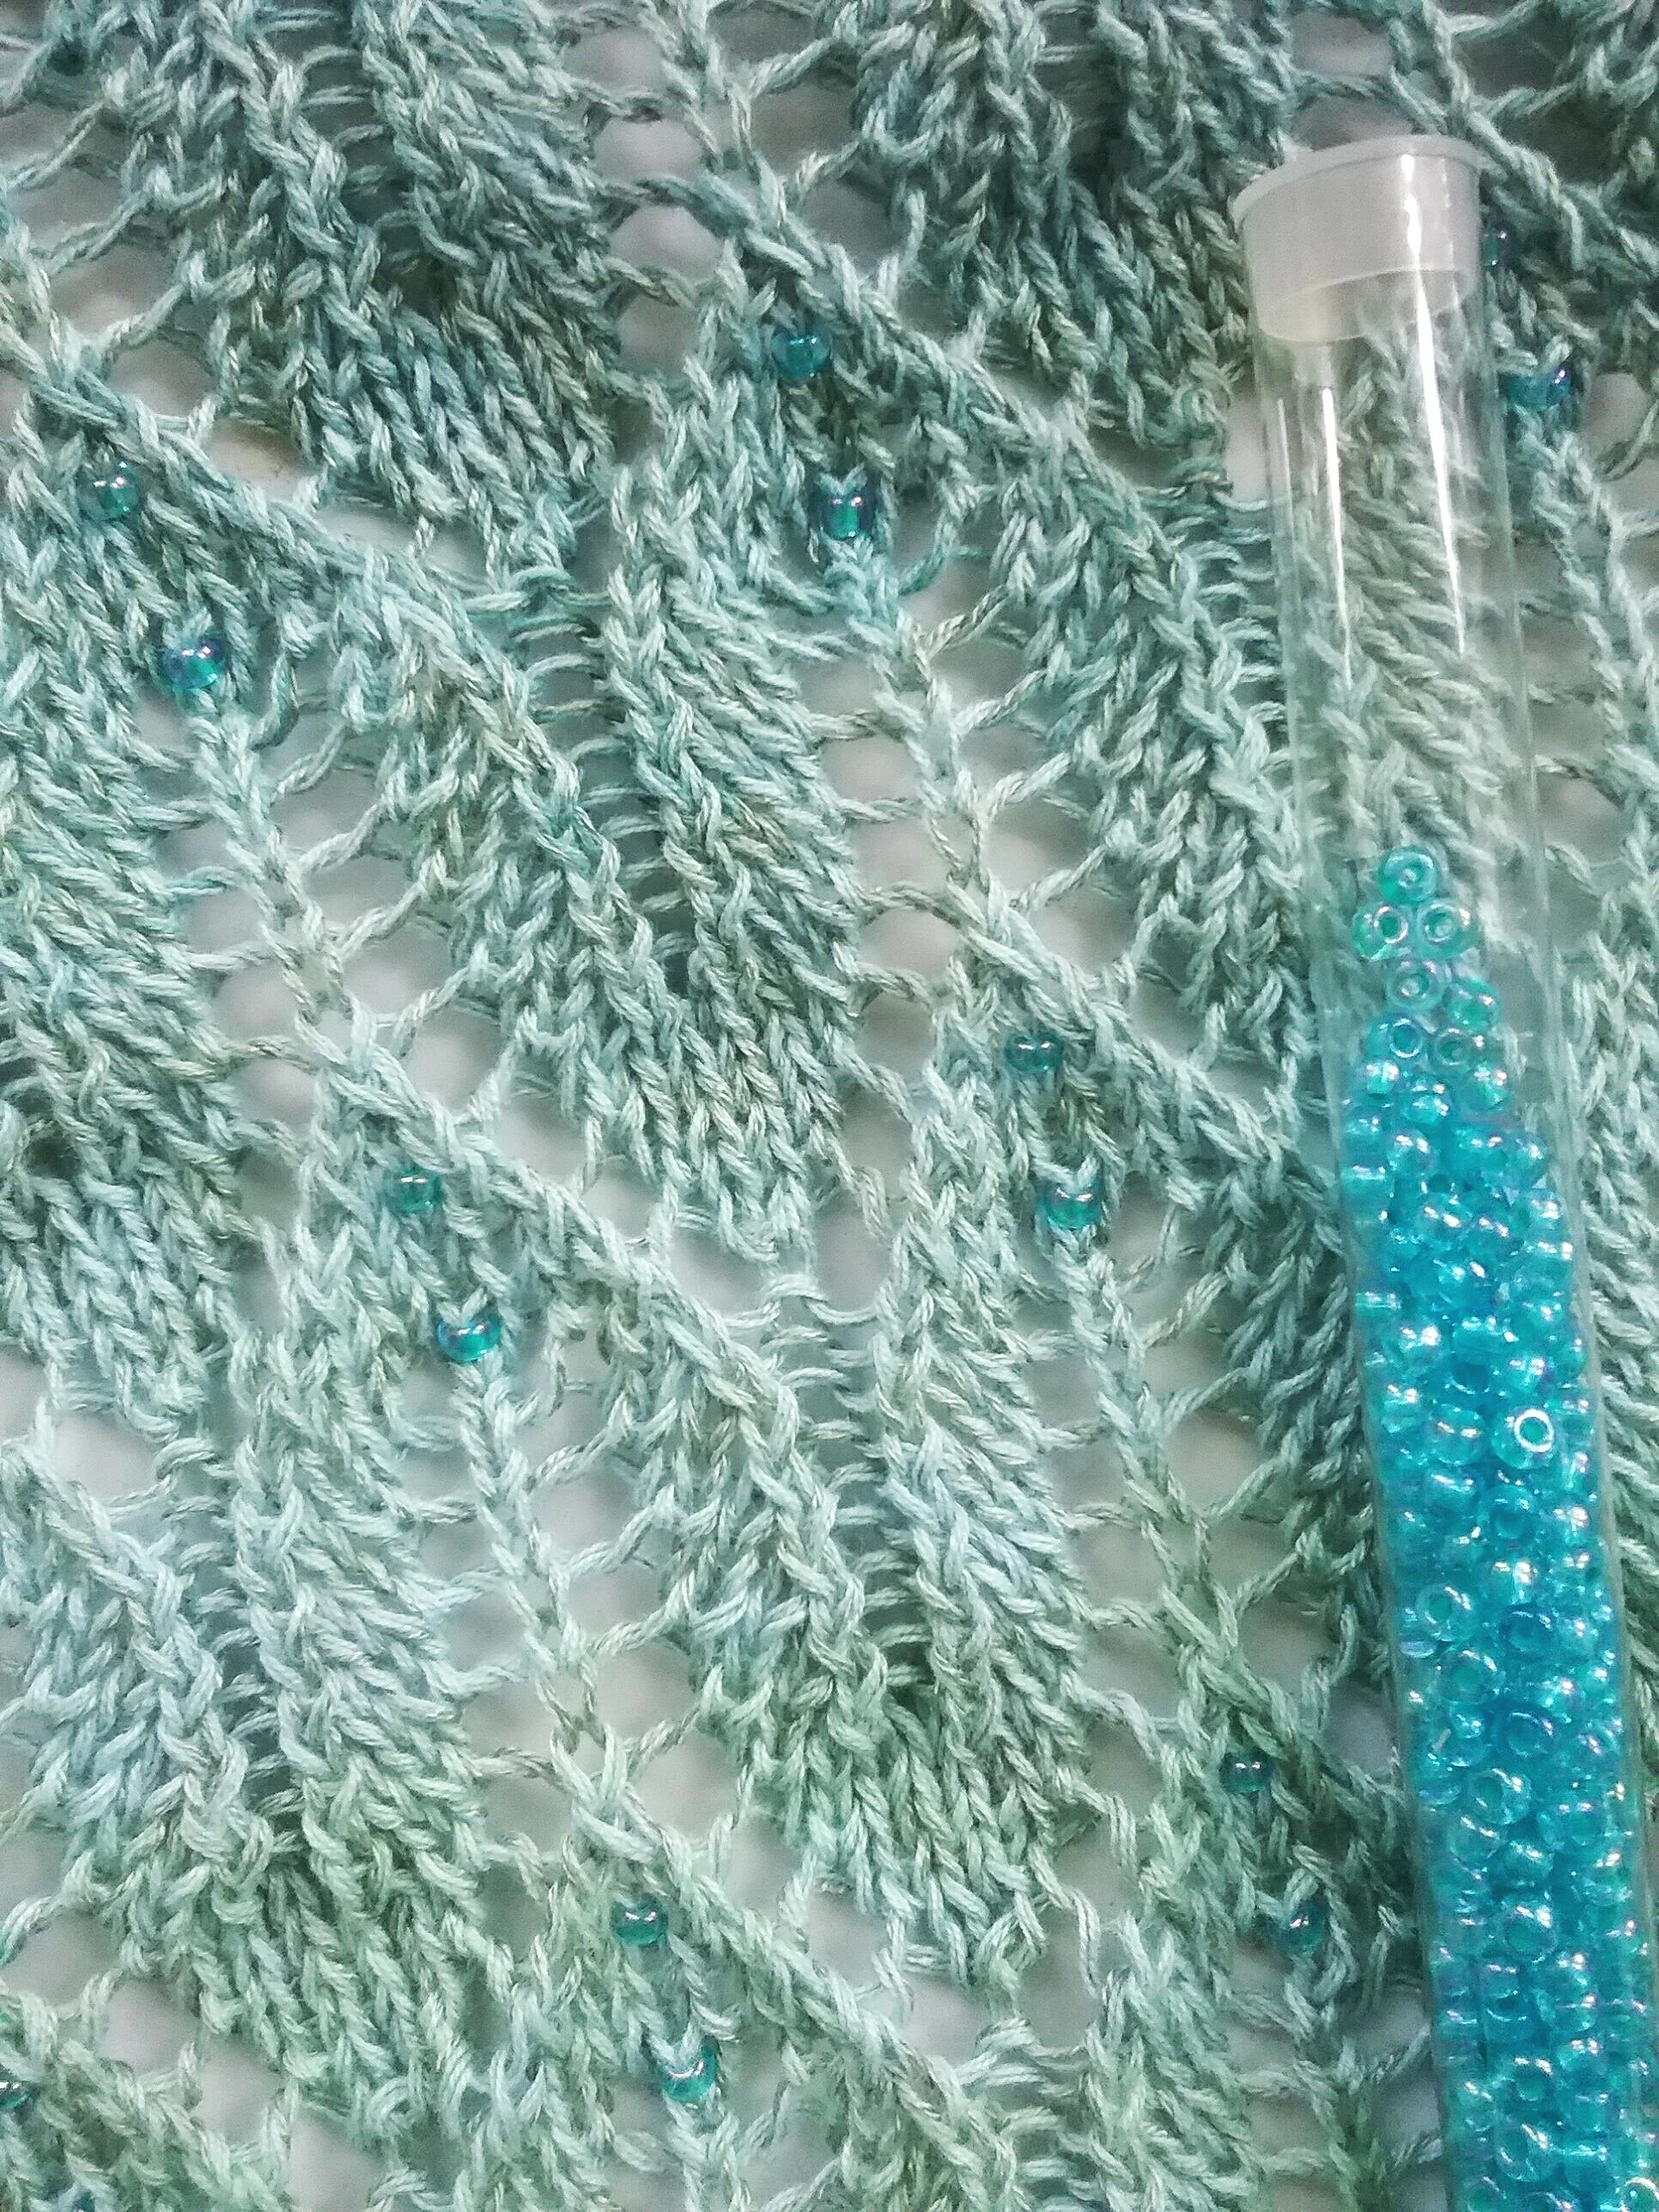
The shawl starts with a cast-on of 4 stitches. But thanks to the double increases in each row that stitch count increases quickly and makes for satisfying progress. After a few rows in solid color A (red/Tina), I soon switch to striping colors A and B (red/Tina and gold/Stevie), working with one color at a time. After so many stripe repeats, color C (green/Luciano) makes its debut with a short lace portion. The lace pattern includes bobbles. I don’t like bobbles, neither knitting nor looking at them, and use beads instead. For this fingering weight yarn 6/0 beads work perfectly.
A little bit of everything

Stripes, lace, and colorwork
After this short lace section, it is back to striping colors A and B. To keep things interesting, the designer included a few rows of stranded colorwork: a motif knitted in colors B (gold/Stevie) and C (green/Luciano). In this case, one works with two colors simultaneously, which is easier than it sounds. Just be careful to carry the second color loosely enough and to cross the colors in the back to avoid pulling and holes respectively.
After this bit of excitement, the pattern returns to the previously established stripe sequence, switching back and forth between colors A and B. All this time the two increases per row continue and thus the rows are getting looooonger. This is knitting at its best: easy stockinette that stays interesting because of the two-color striping sequence as well as the gradient yarns’ slow color changes.
Long rows
Remember the long needles I mentioned at the beginning? They come into play now that there are 200 stitches. Once the milestone of 200 stitches is reached, the designer is doing something clever: from now on, the stitch count will remain the same, but the shape of the shawl will slowly change. This is achieved by increases on one side and decreases on the other. With each row, little by little, the center-line shifts and forms a pleasing asymmetrical shape.
More lace
Lace and some beading
Did I mention that the rows are really long?? And that I have been knitting stripes forever?? Well, I am ready for a change. That change of pace comes in the form of lace: 90 rows of lace in color C (green/Luciano). The designer provides the lace instruction in both written and chart format. I prefer charts, but it is useful to have both. As before, I skip the bobbles and add beads instead.
The pattern is well-written and the charts work beautifully; it is a joy to move along, row by row, and see this gorgeous lace pattern come into existence.
Almost there
After completing the lace portion, the end is in sight. I am switching colors one more time, now using A (red/Tina) for a stockinette section, a few rows of ribbing --- and then the bind-off. Hoorah!!
Last but not least

Blocking the shawl with blocking wires and “Knit Blockers”, which work really well
The knitting is done and the ends are sewn in. Only one more step before I can proudly wear this beauty: blocking. Do I hear a groan?? I am not a huge blocking fan either, but it will make all the difference. Good news: This Cotton/Bamboo yarn blocks beautifully and retains the block very well, so this last step is truly worth the effort.
I am using my trusted blocking wires and blocking pins. The wires are threaded along the edges of the shawl and can then be pinned into shape. Blocking tiles are useful to have, but the living room carpet will do, too. The important thing is to pull the wires into the desired shape, opening the lace, and then tightly securing everything. I pin everything into place and shape before using a water spray bottle to wet the shawl. Some people prefer to soak the shawl in water first – either way works. After spraying the shawl, I additionally cover it with wet kitchen towels, which I leave in place until everything is dry.
And what a proud moment it is when I can remove the towels, pull out the wires – and proudly show off my newest beautiful creation.
